How to Pan Fry
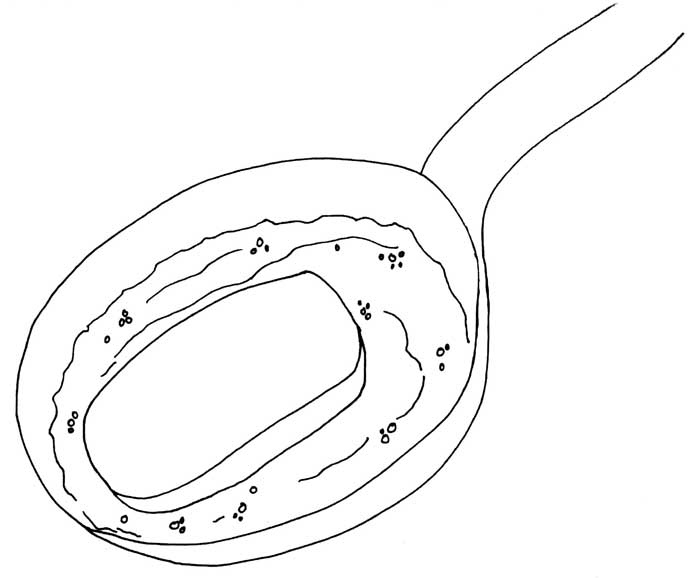
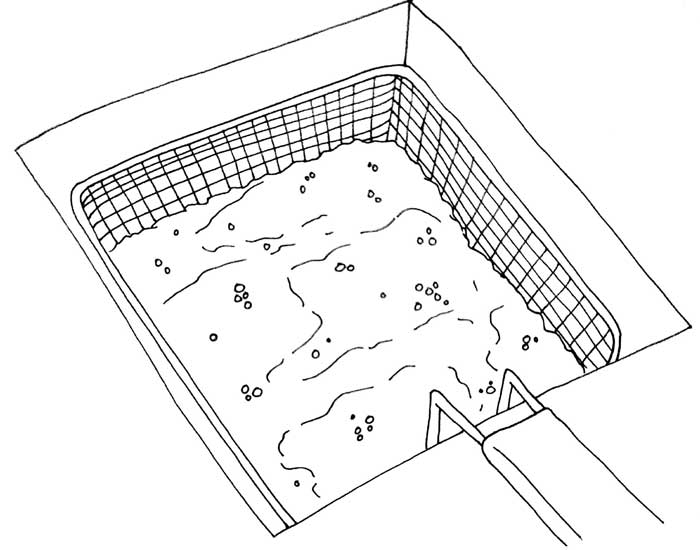
Pan frying is more similar to deep fat frying than it is to sautéing or stir frying. A pan fry is where you cook food in at least ½” of oil. Th is oil typically covers about half of the food you are cooking. If the food is completely submerged in oil, it becomes a deep fat fry. I typically pan fry chicken fingers, breaded pork chops, and other foods that I want to fry quickly without the hassle of storing a gallon of used cooking oil. Never fill your pan more than half way with cooking oil.
Pan Fry
Deep Fat Fry
Your oil could catch on fire if it is over filled, or if it is exposed to an open flame. Use extreme caution when pan frying and be very careful.
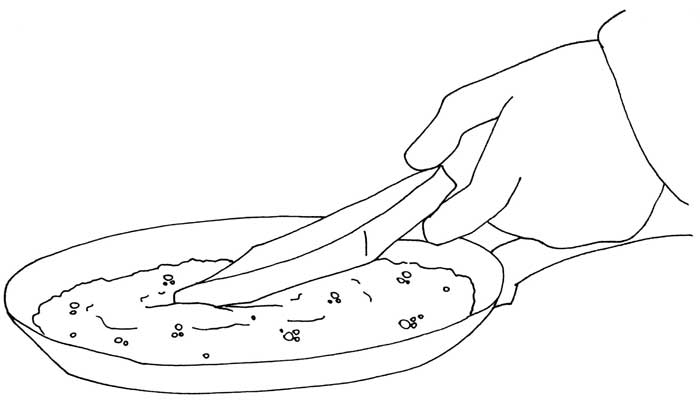
You want to heat the oil in the pan when the pan is cool. You do not ever want to heat an empty pan, because it will warp the pan. The ideal temperature to pan fry is at 325 degrees Fahrenheit. You can achieve this with a medium-heat on a regular sized burner. Pan frying can be extremely messy. If you are not careful, it could also burn you. Although it may seem counter intuitive, when you place items into a hot cooking oil, you want to hold onto the item until the very last second and then release it into the oil. This reduces splashing and helps to eliminate burns on your forearms. When placing food into the hot oil, we also want to take care not to overload the oil by putting too many items in at once. Th e food is much cooler than the oil. If you are not careful, the food can significantly decrease the temperature of the oil, which results in much longer cooking times. Also, overloading the pan can cause the oil to spill out of the pan. This could cause a fire.
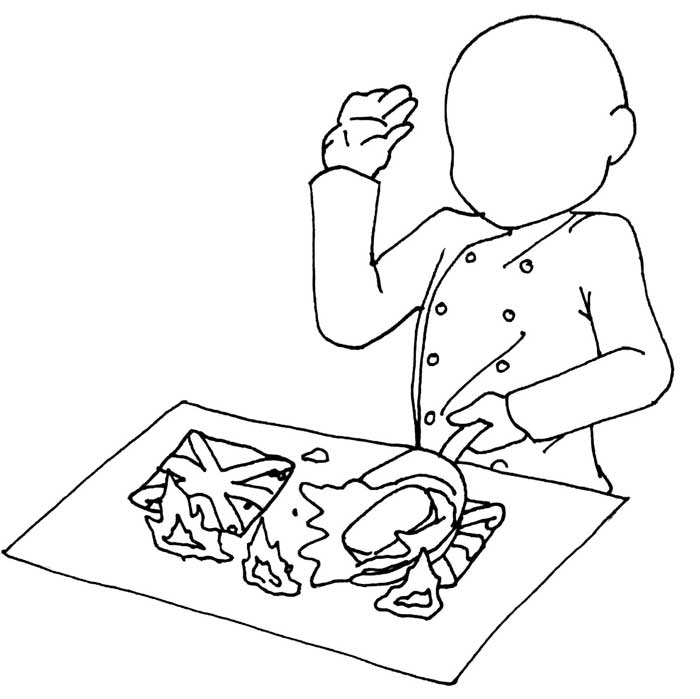
Cooking foods in hot oil increases its crispiness by reducing the water content of the food while also allowing the structure to remain in tact. The reason fried food crunches is because the water is missing but the breading material remains in a dehydrated state. Always make certain to allow any excess oil to drain back into the pan before placing the finished pan fried item on paper to cool and release excess grease.
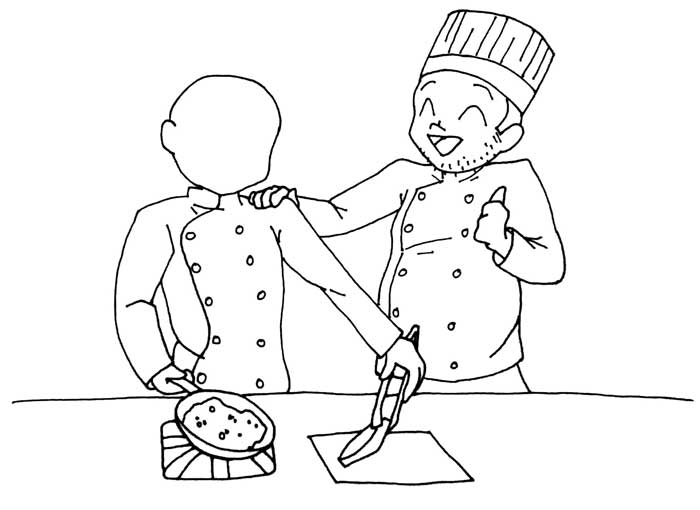
Breading Techniques
Breading is broken up into 2 major techniques.
- Dredging
- Dredging is where you take a piece of meat and cover it in starch (like wheat flour). Then submerge it in an egg wash. Next, return to the starch to be re-covered. Last, place into the pan to cook.
- Battering
- Battering is a wet technique. You take whatever food item that you intend to fry. Dip it into the batter. And immediately, place into the pan to cook.
Dredging can only be used on meats and other proteins. Whereas, anything can be battered. This is why you can have fried zucchini in a thin batter breading. When you intend to bread anything, you must first decide what you would like the end texture to be and how you would like it to taste. This brings us to our next piece of the puzzle which is all about breading materials.
Breading Materials for Dredging and Battering
There are 3 main breading materials that are used to bread an item.
- Wheat flour
Wheat flour is the most common in American cooking. It creates a softer, more sheet-like crust. Think about fried chicken and how the chunks of breading fall off in big sheets of crunchy breading. Flour also does a very good job of holding onto seasonings that you mix into the breading. Flour also has a very mild taste that is barely noticeable. - Bread crumbs
Bread crumbs come in a variety of shape, sizes, colors, and flavors. The two most commonly used are Italian bread crumbs and Panko. Many home cooks will also crush up corn flakes. I would consider corn flakes a bread crumb style breading. Bread crumbs do best in a single layer and in applications where they are not applied too heavily. When bread crumbs are eaten they tend to fall apart into smaller chunks, about the size of peas. - Cornstarch
Cornstarch is a fabulous breading for super crunchy applications. Of all the breading materials, it makes what is possibly the hardest surface. This surface is perfect for absorbing sauces. Cornstarch is typically used in Chinese food, like General Tso’s chicken and sesame chicken. I love to mix cornstarch with wheat flour, as it helps to create a better crunch while maintaining the typical flavor of wheat flour breading. The only major draw back to cornstarch is that it does not have very much flavor on its own, and therefore must be mixed with other breading or covered in sauce before serving. Now that we have the basics of our breading choices covered, let’s discuss the how to actually do it part.
How to Properly Dredge
Breading, aka dredging, food is incredibly personal and a culinary technique surrounded by a lot of superstition. Proper dredging requires several steps and 3 key pieces to function.
The 3 key pieces to dredging are:
1: Protein
Protein can be any piece of meat that you desire to have pan fried. Typically after being breaded, these pieces of meat are referred to as fritters, if they have previously been pounded flat. I recommend seasoning the meat with salt and pepper and storing them in the refrigerator the night before you intend on cooking this protein. As we learned in Roundness of Flavor, salt is a natural flavor amplifier. In addition to this, it is the only known flavor or seasoning to work its way through the entirety of a piece of meat. By pounding our protein with a meat mallet before we bread them, we guarantee 2 things:
1 Proper adhesion of the breading
2 A more tender final product
2: Binders
Just like a binder for school, the binder for dredging works to hold everything together.
- The two best binders are:
- 1 Egg wash
Egg wash is consisted of 1 part egg to 2-4 parts water. This mixture is scrambled together to create an egg wash solution. This is the binder that I most often use, simply because of its ease and convenience to my personal natural cooking and eating style. I happen to carry eggs and water at all points in time, but rarely carry butter milk - 2 Butter milk
Butter milk is a tangy, spoiled milk product that is an incredibly useful binder. It naturally imparts its own unique tangy flavor, which as we have learned lightens the
weight of a finished product.
3: Starch/Breading
The function of starch is to provide a unique crispy crunch, a different flavor, and an interesting texture to a piece of meat than would be normally had. This unique eating experience keeps things interesting and let’s be honest… breading is pretty delicious! As I had discussed earlier in this chapter, breading can be made with different types of starches. I highly recommend experimenting with different mixtures to find the one that you like best.
Here are some of mine:
Fried chicken: 3 parts flour to 1 part cornstarch
Scaloppine: 1 part flour to 1 part cornstarch to 1 part breadcrumbs
Chicken fried steak: 4 parts flour to 1 part cornstarch
Because your breading is your external flavor, you may want to consider seasoning your breading.
Take caution though, if you salt your meat first, do NOT salt your breading. Learn from my mistakes! On that thought, I have found that spices hold up better in the fryer than herbs do, because herbs tend to be more delicate in flavor. A great work around is to apply seasoning after the food has been fried sufficiently.
All dredging has to posses those 3 items to function correctly. Th e end goal is to adhere your breading to your meat. But by nature, the starch is not naturally going to stick without a little modification to both the protein and the breading.
Steps of Dredging
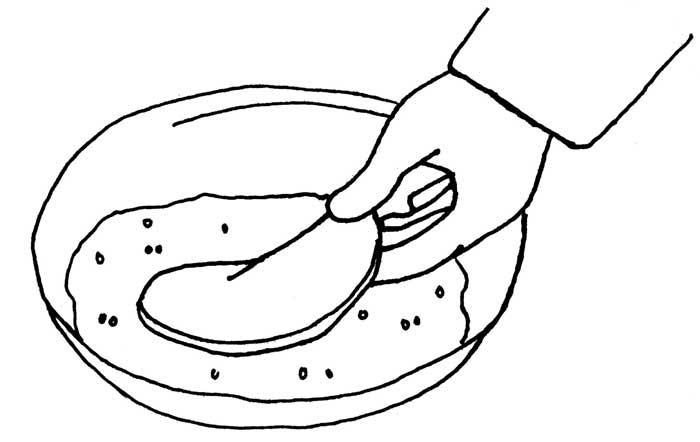
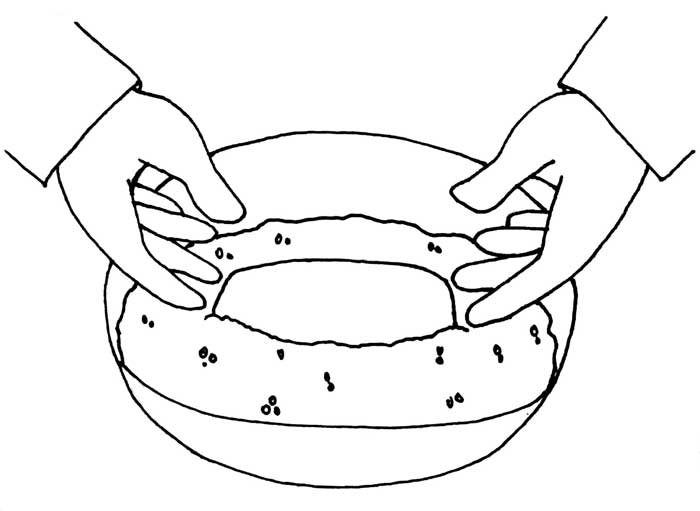
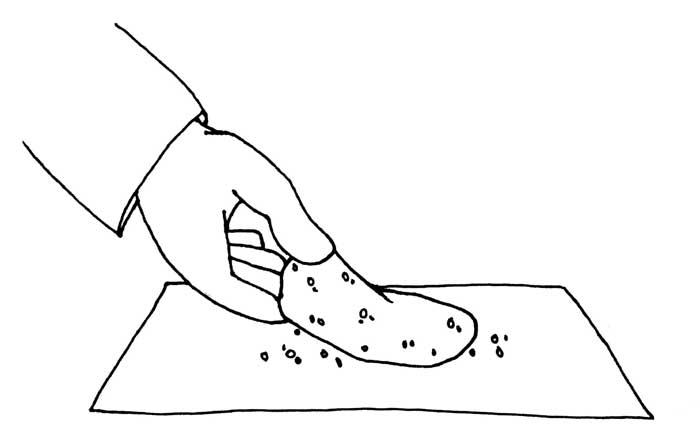
1 The first thing we need to do is enhance the natural stickiness of our protein. The best way to do this is using a meat mallet to tenderize our protein. This will increase the concentration and exposure of sticky proteins found within our meat and will promote adherence of our breading.
2 After thoroughly pummeling your meat into submission, we want to allow the meat to rest and dry it off with a paper towel. Pat it dry to reduce the surface moisture. By reducing the surface moisture, our breading will adhere better to the meat as we cook. Moisture turns to steam during cooking. Th is expansion of steam during cooking can force the breading off of the proteins. Let’s be honest. Nobody wants half breaded fried chicken!
3 After the meat has been allowed to rest for 30 minutes and sufficiently patted dry, we are going to place the meat into our breading and thoroughly cover the surface.
4 Remove the meat from the breading and lightly shake to remove any excess.
5 Now, place the meat into an egg wash made of one part egg to three parts water. The diluted egg mixture acts as a binder for the second layer of breading. This creates a secondary adhesion layer and allows all of the layers to stick to both the protein and themselves. You may also use butter milk as your binder.
6 Return your meat to your breading and thoroughly cover to ensure the moisture has been thoroughly absorbed by new dry breading.
7 Once again, shake the excess breading from the meat and pan fry until the meat has been thoroughly cooked. Take care to flip this meat only once as messing with it too much will cause destruction of the breading.
How to Properly Batter
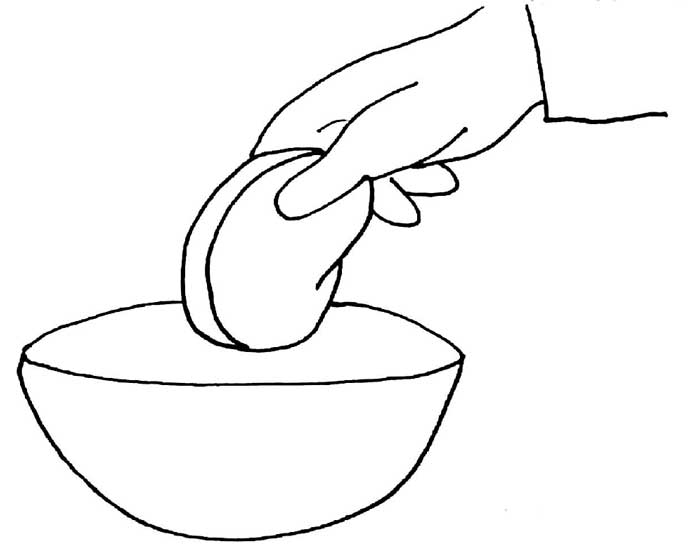
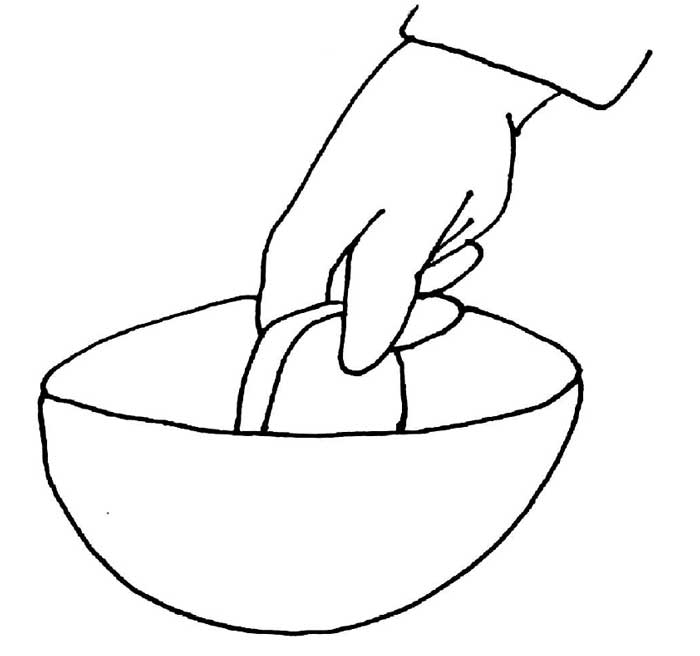
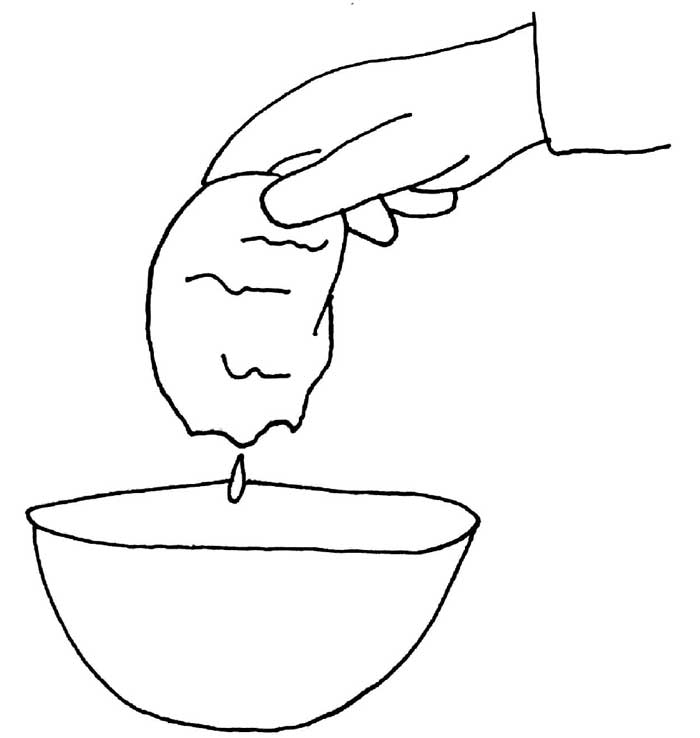
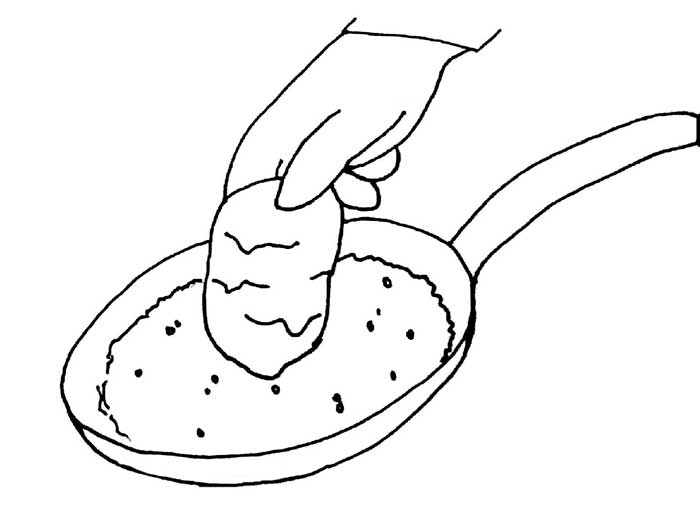
Battering is incredibly simple in comparison to dredging. Th e applied information is the same, but the end product and the batter/breading are a little different. Because batter is liquid you can change the final density of the breading with leavening agents like baking powder or baking soda. You can also batter just about anything. Commonly battered items are sweet and sour chicken, General Tso’s chicken, shrimp tempura, fried zucchini, and mozzarella sticks. Batter may be constructed out of virtually anything as long as it contains starch, binder, and liquid. Most often your starch will be wheat fl our or cornstarch. Your binder will be eggs. And your liquid could be water, beer, vodka, milk, or buttermilk. These will then be mixed together to create a batter just like cakes, pancakes, or muffins. To create a complex batter, you will want to utilize a middle bread crumb step. In this step, you will dip your item into the batter. Then, you will roll the item in bread crumbs and either apply a second layer of batter to seal everything together or you will immediately drop the item in the fryer.
4 Step Simple Battering
1 Mix your batter.
2 Prepare your ingredients and make certain they are close to room temperature.
3 Submerge your item fully into the batter.
4 Immediately transfer into your hot oil and pan fry until fully cooked.
6 Step Complex Battering
1 Mix your batter.
2 Prepare your ingredients and make certain they are close to room temperature.
3 Dip your item into the batter and immediately transfer into your bread crumbs.
4 Roll your item into the bread crumbs until all surfaces are covered.
5 Return to batter ensuring entire item is covered.
6 Delicately drop item into hot oil and cook until fully cooked.
A Few Important Batter Tips
1 It is preferable for the batter to be fully submerged when frying. If this is not possible and pan frying is your only option, place the battered item into the hot oil. Allow to cook for 30 seconds and then immediately flip the item so that the outside of the batter can set properly and not run off when pan frying. You may also carefully and lightly use tongs to move hot oil onto the raw batter so that it will set properly.
2 Remember that batter is sticky and that you should place items into the hot oil slowly and separately to keep them from sticking together.